(Adapted from Amish White Bread on Allrecipes.com)
Since I started this blog, I have been meaning to write about baking bread. I must confess, nothing gives me as much satisfaction as baking a beautiful golden brown loaf of bread. As for the aroma of bread baking in the oven, I can only compare it with the melodious saxophone music by Kenny G that I used to listen to as a teenager. It is simply a dreamy delight!
When I started out baking bread, the first difficulty was obtaining good yeast. Abroad, a large variety of yeasts are available for home bakers.
I searched internet sites and TV programs to find out the most easily available yeast here. Some TV programs suggested going to your neighborhood bakery and obtaining some
Instant Active Yeast.
However, being a relatively new resident of this city, I had no clue where a bakery close to my home would be. Also, whether the baker would let me buy some of this
Instant Active Yeast (which is the messiah of bread baking) was doubtful.
Finally, I turned to my oft-visited grocery store. With loads of hesitation, I asked for yeast...any yeast that they might have. I even spelled it for them! The shopkeeper took one look at my face and plonked a small bottle on the counter without a word. (What a foot in the mouth situation for poor 'ole me! It seems that they are quite aware of yeast.)
This easily available yeast is called
Active Dry Yeast.
This is what it looks like:
 |
| Active Dry Yeast |
With great gusto I mixed this yeast with Maida, salt, and oil, Crafted a loaf and baked it.....to get a hard log that had to be broken with a hammer! :(
Then I read
Sayantani's post on baking bread. Basically, before adding yeast to the flour, you need to dissolve it in lukewarm water that contains sugar. Bingo!
Active Dry Yeast is in dormant state. We need to "activate" this yeast by adding it to a warm-water-and-sugar-solution. This process is called, proofing the yeast.
The rest of the steps are pretty simple. Bread baking does take nearly two and a half to three hours. However, most of this time is waiting time with no active participation from my end. Most days, I prepare the dough and leave it to rise while I go about my work. By the time, little S returns from school the bread is baked!
This recipe is that of Amish White Bread that I found
here.
This is how I made it:
Ingredients:
Lukewarm water: 2 cups
Sugar: 2/3rd cup
Salt: 1 teaspoon
Oil/Butter : 1/4th cup
Active Dry Yeast: 1 level tablespoon
Flour/Maida: 6 cups approx.
Procedure:
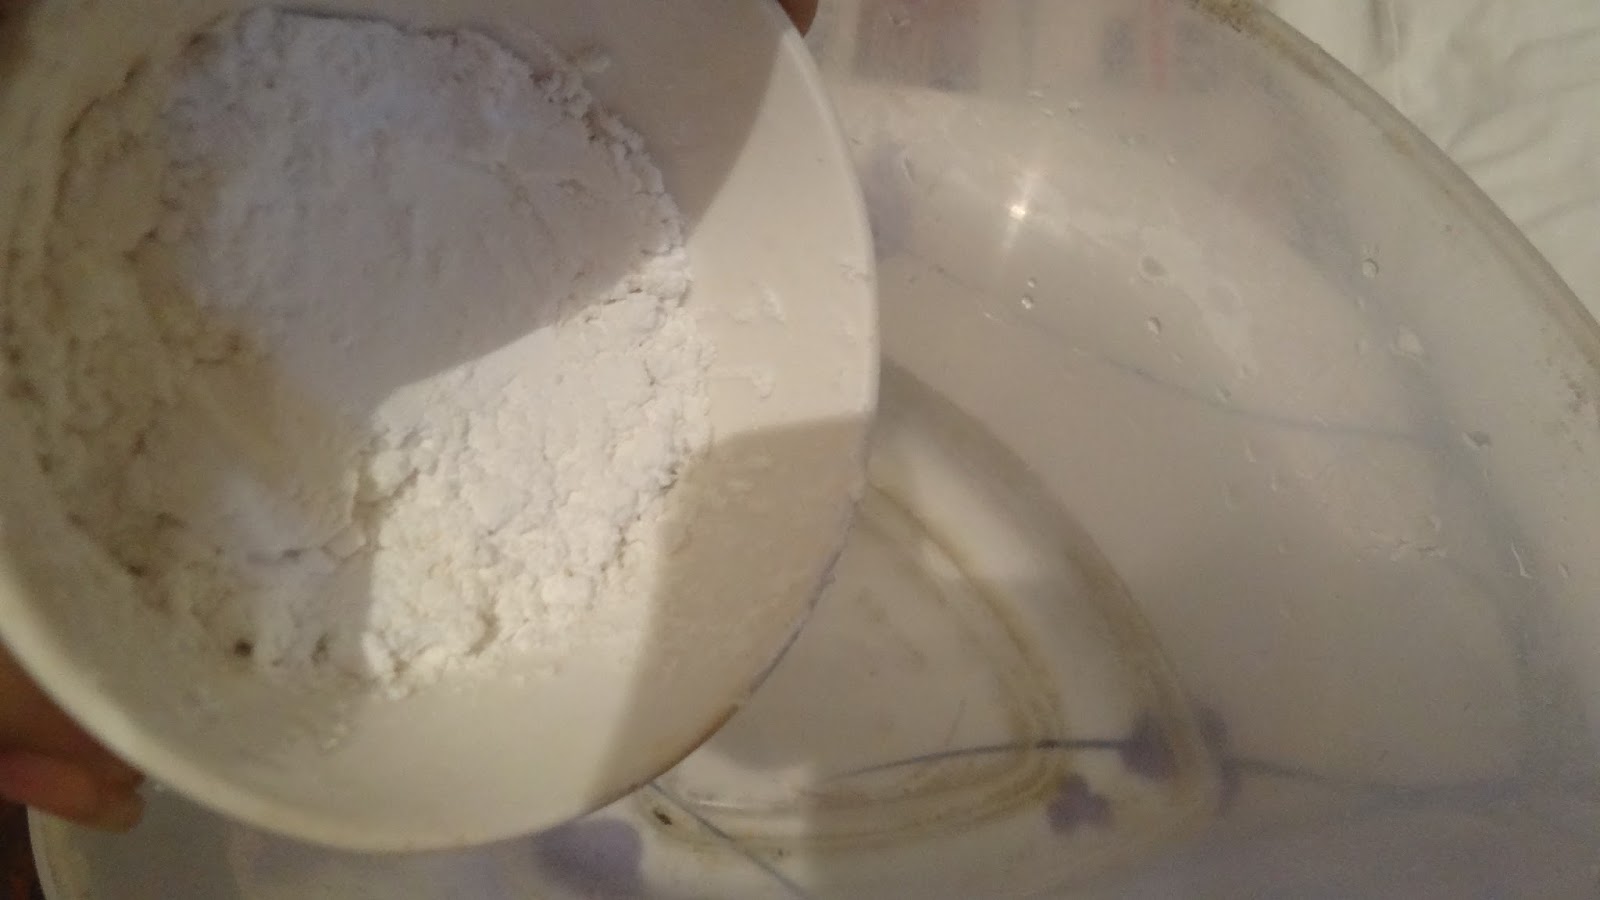
1. Take lukewarm water in a deep-bottom glass/plastic bowl. The water should be lukewarm like baby's bath water, not scalding hot. Add sugar to this water and stir it so that the sugar dissolves. I have used powdered sugar but granulated sugar works just fine!
 |
| Adding sugar to lukewarm water |
2. Next, add the yeast. Just sprinkle the yeast lightly over the surface of the water to prevent clumping. Stir once or twice gently.
 |
| Adding yeast |
3. Cover the bowl and keep it undisturbed for 15 minutes in a warm, dry place.
4. After 15 minutes the water will appear frothy. This indicates that the yeast is activated. If the water does not appear frothy, keep the bowl covered for another 10 minutes.
5. Add salt to this mixture.
 |
| Adding salt |
6. I added some mixed herbs (rosemary, basil, and thyme). This is optional.
 |
| Adding herbs |
7. Now, start adding flour half cup at a time. It is generally advisable to add the flour gradually for easy mixing.
 |
| Adding flour |
8. As you keep adding the flour, it will become difficult to mix using a beater.
9. Transfer the dough to a plate or working surface.
10. Add oil and gradually mix the oil by incorporating it into the dough. (You can also add the oil while adding salt.)
 |
| Adding oil |
11.Keep kneading the dough till it becomes smooth and pliable. Dust the working surface with flour to prevent sticking. Knead the dough thoroughly with the heel of your palm as shown in the image. This will activate the yeast further and you will get a airy, flavorful bread.
12. This entire kneading process takes about 10 minutes. Once you get a firm, smooth, and silky dough make a depression on the dough surface with your finger. The dough is elastic, and the depression will get filled up. Now, your dough is ready.
(These tiny fingers are of my little S. She was quite excited to feature in my blog.)
13. Grease another deep-bottom pan and dunk the dough in it.
14. Cover the bowl and keep it in a warm place for an hour. It is quite rainy in Kolkata these days, so I generally keep the bowl inside my microwave (with the microwave switched off). The interior of a microwave is warm, and the dough rises beautifully.
15. After an hour, your dough will have risen and doubled in size. If not, keep it covered in a warm place for 30 more minutes.
16. Punch the dough in the center to release the trapped air.
17. Knead it gently and divide into two.Generally, you can bake two loaves following this recipe, but I store one portion of the dough in the fridge to bake the next day. This dough keeps well in the fridge for 2-3 days. You can also freeze it.
18. Form the dough into an oblong shape. Make sure that all cracks and creases are smoothed out.
 |
| Crafting the dough into a loaf |
19. Grease the bread loaf pan with oil and dunk this dough into it. You can also bake this bread in a cake tin.
20. Cover the bread pan with a dish towel and keep in a warm place for 45 minutes.
21. The dough will rise to about 1/2 inch above the rim of your bread pan. While the dough is rising, pre-heat the oven to 190 degrees C.
22. Place the bread pan in the oven on the lowest tray level. Place a bowl of water alongside so that the humidity of the oven is maintained. If you skip keeping the bowl of water, you bread will be very dry on top.
23. After 10 minutes, lower the oven temperature to 175 degrees C and bake for 30 minutes more. At this point I generally cover the dough with aluminum foil so that the top does not over-harden and the bread bakes evenly.
24. After 30 minutes, remove the foil and grill the bread using the Grill option of your oven for 10 more minutes.
25. When the top surface is nicely browned, remove the bread from the oven.
26. Let it cool for 10 minutes before de-molding the bread from the bread pan. Brush the surface of the bread with some milk or oil.
 |
| Brushing with oil |
27. Remove from bread pan and let bread cool completely before cutting. If bread is cut while it is still warm, it tends to crumble.
Your beautiful home-baked bread is ready. Though I admit that baking bread in a bread machine, decreases the effort by 95%, but I seem to get loads of satisfaction crafting a bread with my own hands.
Slice the bread and serve with love!
Here is a re-cap of the recipe minus the pictures:
Proofing the yeast
1. Take lukewarm water in a deep-bottom glass/plastic bowl. The water should be lukewarm like baby's bath water, not scalding hot. Add sugar to this water and stir it so that the sugar dissolves.
2. Next, add the yeast. Just sprinkle the yeast lightly over the surface of the water to prevent clumping. Stir once or twice gently.
3. Cover the bowl and keep it undisturbed for 15 minutes in a warm, dry place.
4. After 15 minutes the water will appear frothy. This indicates that the yeast is activated. If the water does not appear frothy, keep the bowl covered for another 10 minutes.
Preparing the dough
5. Add salt to this mixture.
6. I added some mixed herbs (rosemary, basil, and thyme). This is optional.
7. Now, start adding flour half cup at a time. It is generally advisable to add the flour gradually for easy mixing.
8. As you keep adding the flour, it will become difficult to mix using a beater.
9. Transfer the dough to a plate or working surface.
10. Add oil and gradually mix the oil by incorporating it into the dough. (You can also add the oil while adding salt.)
11.Keep kneading the dough till it becomes smooth and pliable. Dust the working surface with flour to prevent sticking.
12. This entire kneading process takes about 10 minutes. Once you get a firm, smooth, and silky dough make a depression on the dough surface with your finger. The dough is elastic, and the depression will get filled up. Now, your dough is ready.
13. Grease another deep-bottom pan and dunk the dough in it.
14. Cover the bowl with a dish towel and keep it in a warm place for an hour. It is quite rainy in Kolkata these days, so I generally keep the bowl inside my microwave (with the microwave switched off). The interior of a microwave is warm, and the dough rises beautifully.
15. After an hour, your dough will have risen and doubled in size. If not, keep it covered in a warm place for 30 minutes more.
16. Punch the dough in the center to release the trapped air. Knead it gently and divide into two.
17. Generally, you can bake two loaves following this recipe, but I store one portion of the dough in the fridge to bake the next day. This dough keeps well in the fridge for 2-3 days. You can also freeze it.
18. Form the dough into an oblong shape. Make sure that all cracks and creases are smoothed out.
19. Grease the bread loaf pan with oil and dunk this dough into it. You can also bake this bread in a cake tin.
20. Cover the bread pan with a dish towel and keep in a warm place for 45 minutes.
21. The dough will rise to about 1/2 inch above the rim of your bread pan. While the dough is rising, pre-heat the oven to 190 degrees C.
Baking the bread
22. Place the bread pan in the oven on the lowest tray level. Place a bowl of water alongside so that the humidity of the oven is maintained. If you skip keeping the bowl of water, you bread will be very dry on top.
23. After 10 minutes, lower the oven temperature to 175 degrees C and bake for 30 minutes more. At this point I generally cover the dough with aluminum foil so that the top does not over-hardened and the bread bakes evenly.
24. After 30 minutes, remove the foil and grill the bread using the Grill option of your oven for 10 more minutes.
25. When the top surface is nicely browned, remove the bread from the oven.
26. Let it cool for 10 minutes before de-molding the bread from the bread pan. Brush the surface of the bread with some milk or oil.
27. Remove from bread pan and let bread cool completely before cutting. If bread is cut while it is still warm, it tends to crumble.
Do drop me a line in the comments section. Would love to get your feedback!